Setting up a Video creative
General
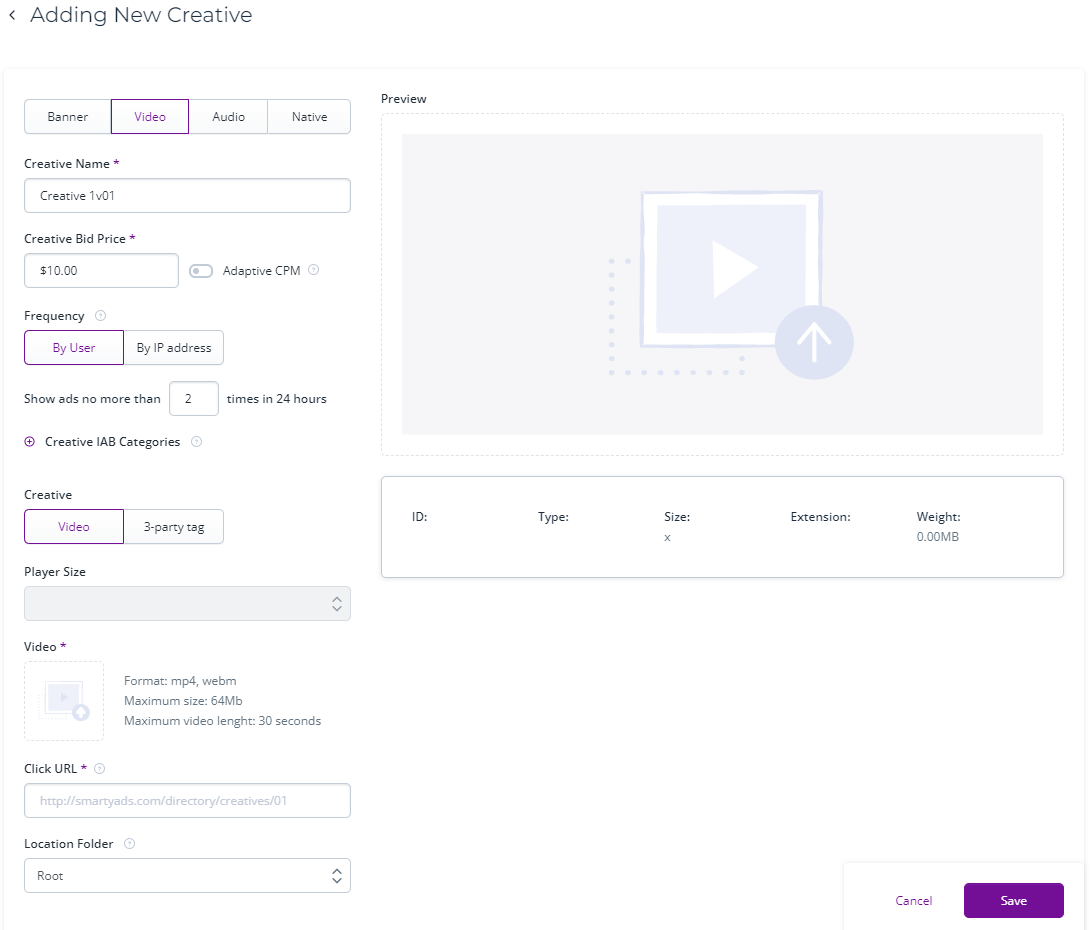
For the Video type of creative, you have to set the following parameters:
-
Creative Name: Set a unique name for the creative to differentiate it from other creatives. For example, you can name it 'Video 300x250 Product1 2019'.
- CPM – the price for a thousand impressions. The minimum CPM is $6. Also, you can activate ‘Adaptive CPM’ which will lower the CPM price when possible in order to save the budget.
- Frequency – select the way to define the user uniqueness: by IP or by the user agent. Set how many times per 24 hours the user can see the ad. For example, you may consider that seeing the same ad for two or three times per day may be more convincing for the user than just one time, but 4th time may be annoying. If you think so, set the frequency to 2 or 3.
- Set at least one IAB category (according to the Interactive Advertising Bureau classification) that characterizes the creative to make the targeting more specific, so that it helps to match your creative with publishers and users who want to see advertising in those categories.
Creative – here you can upload a video file from your local
storage, or set a 3rd party creative tag that calls a video from another
source.
Below is the example of the 3-party tag:
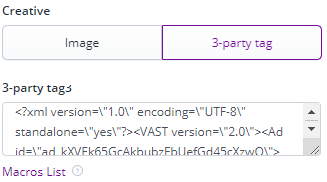
Note: If the tag is correct, a preview of the video will appear in the upper right corner.
You can also add macros to the tag. Macros are built-in tracking variables that allow specifying additional parameters and details provided with a tag.
Note: Macros allow tracking information on the advertiser side. This information will not be available in reports on the DSP side.
To add macros, click the ‘Tag macro list’. You will see all available macros. Choose the parameters you need and add them to the tag manually.
Note: You can only use macros from the Tag macro list. Macro is case-sensitive.
Click to read more about macros.
- Click URL – URL to which the user will be redirected after a click on the ad. You can also add a macro to the URL.
- Width and Height – set the size of the image. In the case of a 3-party tag, these fields are required.
- Location Folder – here you can set the folder to store the creative in.
Autostore & End Card
The Autostore & End Card is the function designed to enhance user engagement and streamline app installs. Below is a detailed explanation of these features and their presentation to end users.
Note: to ensure the function is working properly, please provide an actual app marketplace link for your app in the ‘Click URL’ field and select the same marketplace in the ‘App Marketplace’ field.
Autostore Function
The Autostore function automatically opens the app marketplace page for the advertised application after displaying the primary ad content. This feature eliminates unnecessary intermediary steps, providing a seamless transition from engagement to the app install process. The Autostore function detects the user’s device and directs them to the appropriate marketplace, such as Google Play Store for Android users or the Apple App Store for iOS users. This targeted redirection is designed to maximize conversion rates by creating a direct path to the app download process. An example of page opened by autostore is shown below:

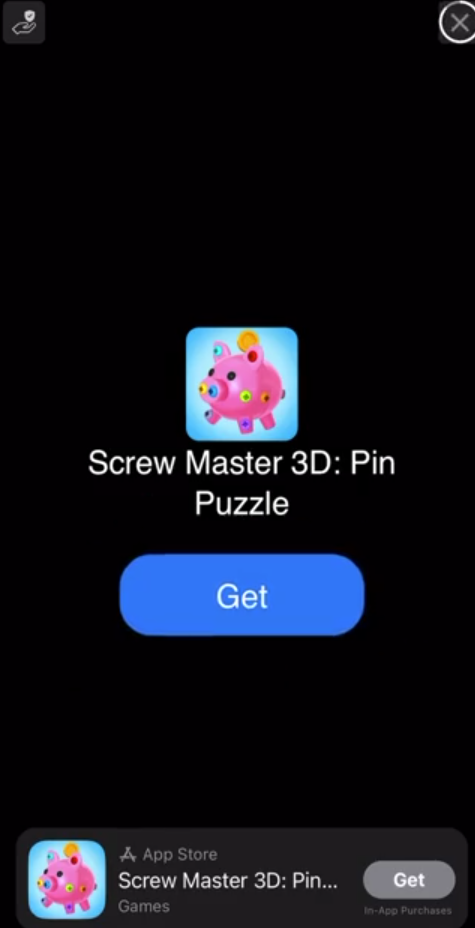
End Card Function
The End Card is a post-ad display screen that appears after the primary ad content has concluded. It serves as the final interaction point for the end user, providing additional information about the application and encouraging further action. End Cards are visually appealing and include key elements such as the app’s logo, tagline, name, and screenshots. A prominent CTA button, such as 'Get' is displayed, inviting users to take the next step. An example of an end card is shown below: